Step-by-Step Watercolor Botanical Illustration: Periwinkle Flower
Botanical watercolor illustration is one of the most beautiful ways to study and celebrate the natural world. In this tutorial, I’ll walk you through my step-by-step process for painting a periwinkle flower—a charming bloom known for its five soft violet-blue petals and glossy green leaves.
This painting was inspired by a wonderful blog post by botanical artist Lizzie Harper, who generously shares her own illustration process. As artists, we grow by learning from one another—and I believe that sharing techniques and insights is essential to keeping this art form alive and evolving.
I’m always excited to learn someone else’s process and then create my own version, by looking for clues on how to make the same subject painting my own. There are so many ways to paint the same subject matter, I absolutely love this about the art making process.
Whether you're a fellow illustrator or someone just beginning your watercolor journey, I hope this guide helps you approach floral illustration with confidence and curiosity.
Materials I Used
To achieve the soft textures and subtle gradients of the periwinkle flower, I used:
Eraser: Kneaded eraser or regular eraser
Watercolors: Winsor & Newton – French Ultramarine, Cobalt Violet, and a hint of Permanent Rose
Brushes: Da vinci nova liner brush 0/10 and Princeton Glacier round Size 2
Ceramic mixing palette: 12 well round porcelain palette
Water container and paper towel
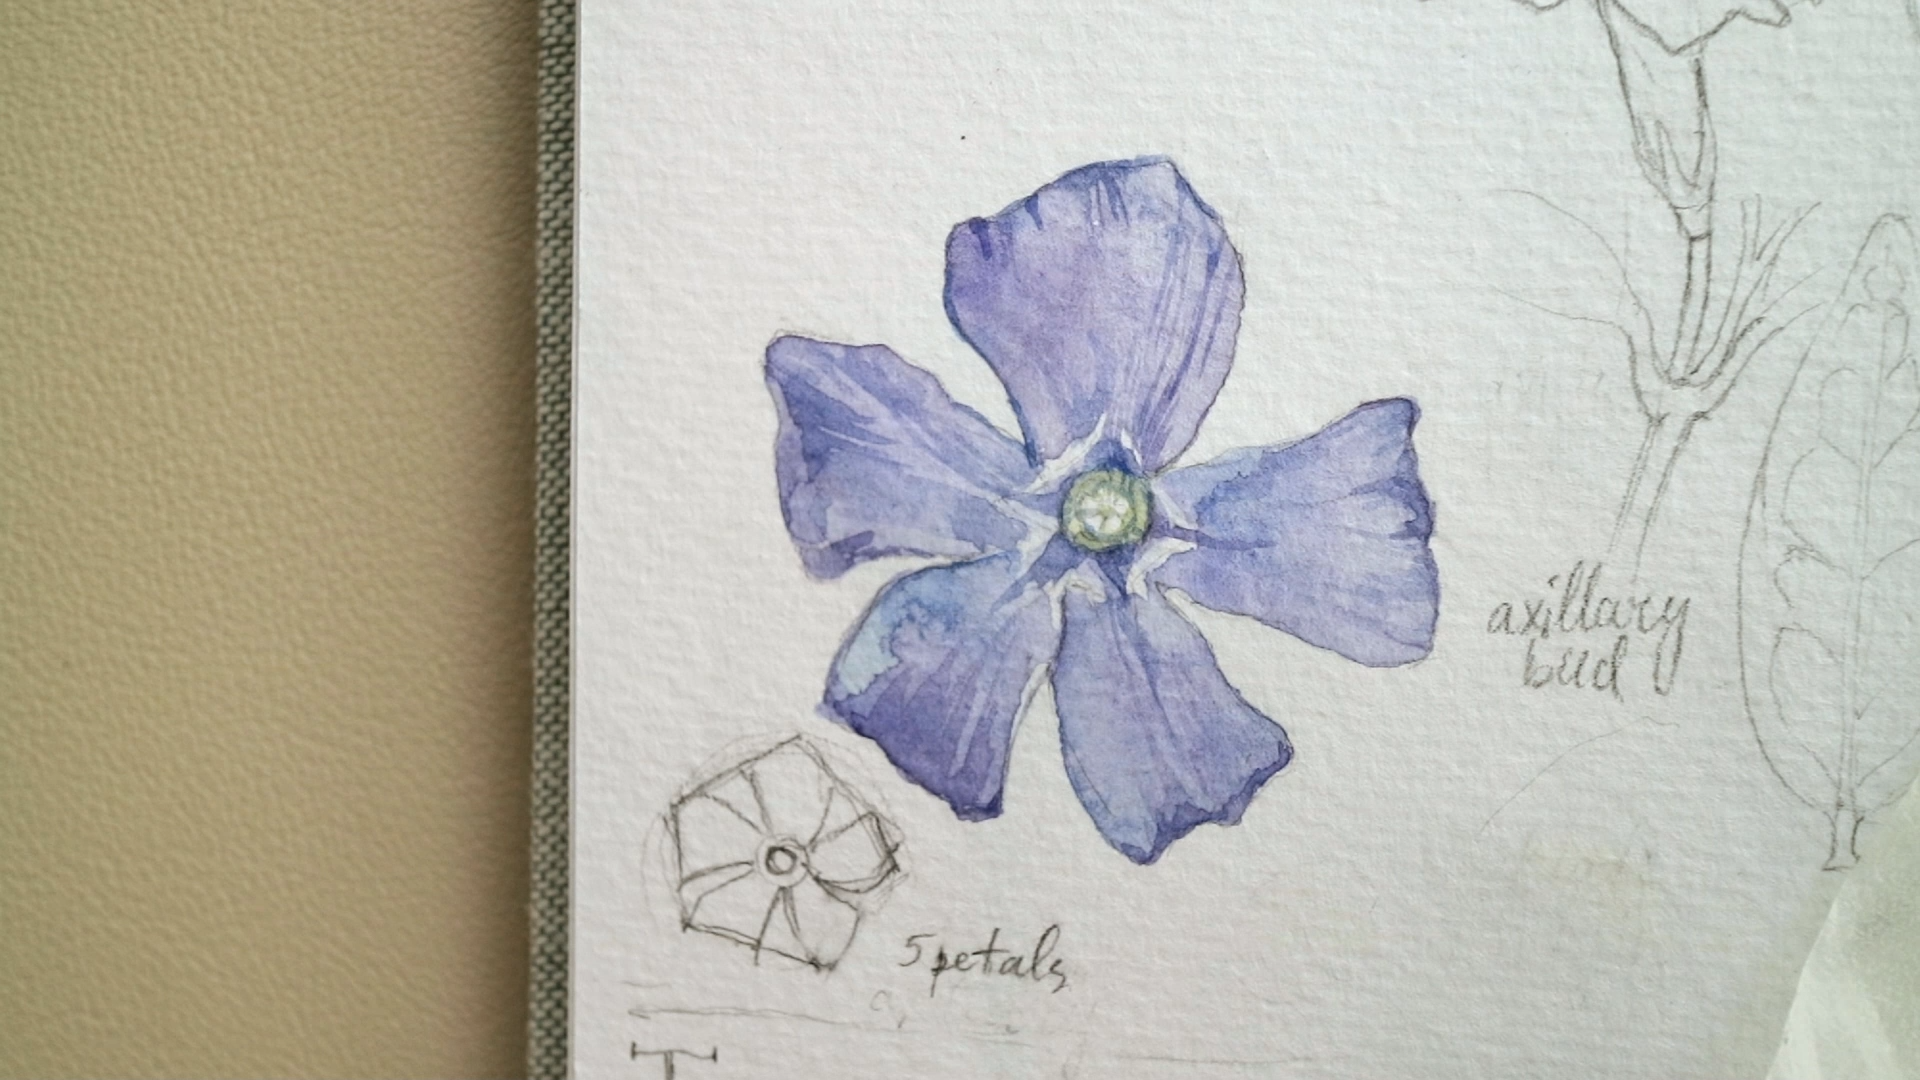
1. Observing the Flower
Before picking up a brush, I took time to carefully observe a few fresh periwinkle flowers (Vinca) I collected locally. These blooms have a unique structure—five slightly overlapping petals that spiral around a star-shaped center.
If you don’t have access to a fresh flower, use high-resolution reference photos with clear lighting. Always try to observe how light interacts with the petals and leaves.

2. Light Pencil Sketch
I started with a soft pencil sketch, focusing on:
The radial symmetry of the petals
The spiral rotation of the bloom
The slightly irregular shapes of each petal edge for interest
The central star-shaped structure of the stamens
This step is all about accuracy and proportion. I work lightly so I can erase without damaging the paper.
3. Mixing the Signature Periwinkle Hue
Periwinkle has a soft, cool blue tone with hints of lavender. To recreate this, I mixed:
French Ultramarine for the blue base
Cobalt Violet for a violet undertone
A small touch of Permanent Rose to warm up the mix, if needed
I tested swatches to achieve a balance that felt true to the natural color. When working with botanicals, I aim for color accuracy but also stylization, I care about what will look great on the page.

4. First Wash – Petal Texture
With a size 2 brush, I painted each petal with a light wash, injecting darker paint around the petal edges. This creates texture and movement, simulating the subtle veins that run along the petal surface. I left the very edges untouched to preserve the lightest values using the white of the paper.
5. Second Wash – Building Volume
Once the first layer was dry, I applied a diluted wash of the same color mix in a linear pattern, This helped with building gentle gradients and to create a three-dimensional form. I worked petal by petal to avoid hard edges caused by drying too quickly.

6. Third Wash – Unifying the Petals and Detail
I added a final, ultra-light wash across all five petals—skipping the center—to pull the painting together. This layer unified the tones and balanced any uneven areas.
7. Center Details
Using a fine brush, I painted the star-shaped center with Olive Green lightly, and with a more saturated color at the center part. I carefully placed blue-violet triangles to represent the floral anatomy at the core. This small detail adds structure and visual focus to the illustration.
Final Touches
Once dry, I softened a few transitions with a damp brush and deepened the shadowed edges of a couple petals to give the flower more depth. The very final details I added were darkest strokes around the petals to help with the contrast and “lift” the flower off the page.

Why I Share My Process
In the world of botanical art—where precision, observation, and patience are so essential—it’s easy to feel isolated in the studio. Sharing knowledge and supporting other artists reminds me that we’re part of a larger creative ecosystem. When we pass on what we’ve learned, we not only keep traditional techniques alive but also make space for innovation and new voices. If this tutorial helps even one person feel more confident picking up a brush, then sharing it was absolutely worth it.
Looking for an illustrator?
Explore custom watercolor commissions, feel free to browse my Illustration Portfolio or get in touch about your project.